
Table of Contents
Introduction
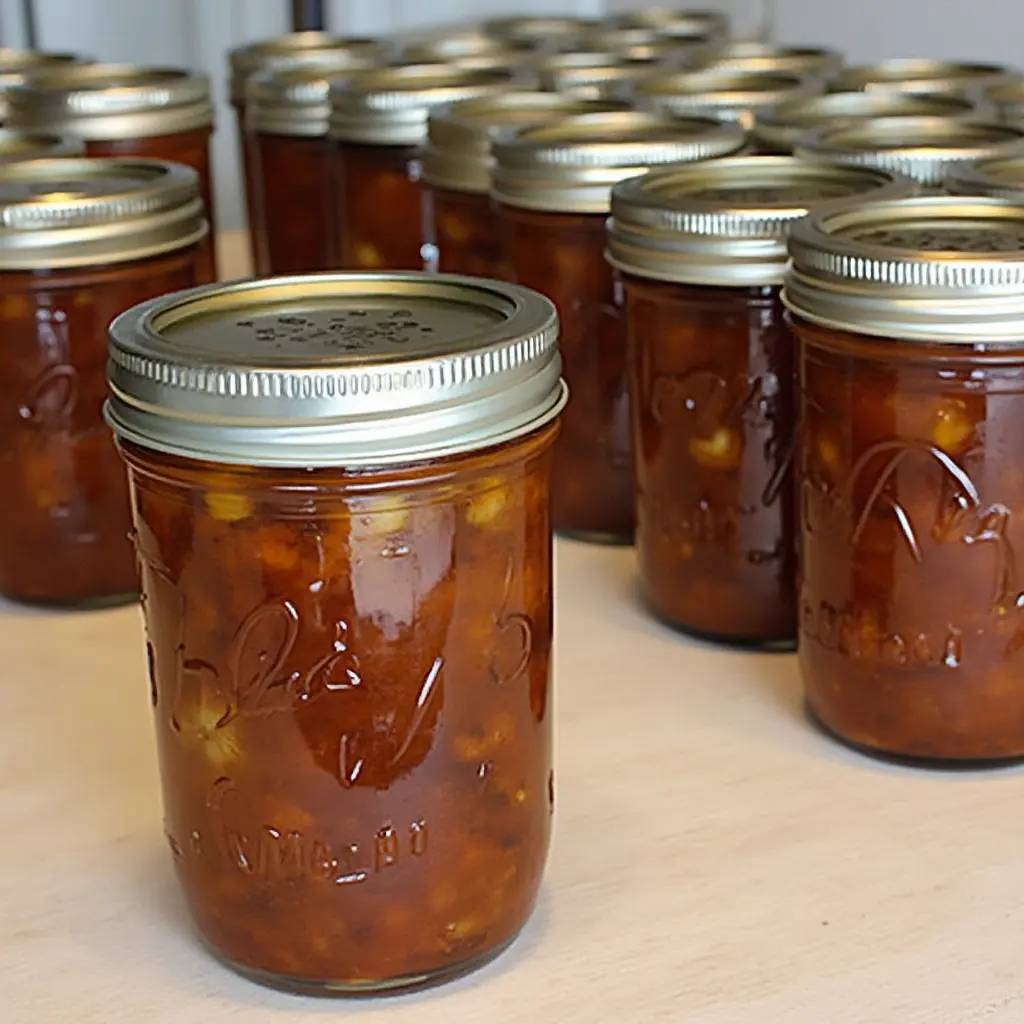
Did you know that properly canned venison can maintain its flavor and nutritional value for up to 3 years when stored correctly? That’s right—this often-overlooked preservation method transforms your hunting harvest into convenient, ready-to-use protein that rivals fresh meat in taste and texture. Canning venison not only extends your hunting season’s bounty throughout the year but also provides an emergency food supply that requires no refrigeration. Whether you’re a seasoned hunter looking to maximize your deer harvest or simply seeking sustainable food preservation methods, mastering the art of canning venison unlocks a world of culinary possibilities while ensuring nothing goes to waste. The process of canning venison may seem intimidating at first, but with the right techniques, you’ll be preserving your own venison like a pro.
Ingredients List
To successfully can venison and create a shelf-stable product that maintains its rich, gamey flavor, you’ll need:
- 4-5 pounds of fresh venison, trimmed of fat and silver skin
- 1 teaspoon salt per quart jar (optional but recommended)
- 1-2 tablespoons of high-quality beef bouillon or 1 cup beef broth per quart (adds depth of flavor)
- 1 small onion, quartered (optional for enhanced flavor)
- 1 garlic clove per jar (optional)
- 1 bay leaf per jar (optional)
- 1 sprig of fresh thyme or rosemary (optional)
- Pressure canner (essential—water bath canning is NOT safe for venison)
- Quart or pint canning jars with new lids and rings
- Canning tools: jar lifter, funnel, bubble remover, and headspace tool
Ingredient Substitutions:
- No beef bouillon? Use venison stock, chicken stock, or simply water with additional herbs
- Fresh herbs unavailable? Substitute with 1/4 teaspoon dried herbs per jar
- For a spicier canned venison variation, add 1/4 teaspoon of red pepper flakes per jar
Timing
Preparation Time: 60 minutes (includes trimming, cutting meat, and preparing jars)
Processing Time: 90 minutes for quarts, 75 minutes for pints at 10 pounds pressure (adjust for altitude)
Total Time: Approximately 3 hours—which is significantly less time than traditional smoking or jerky-making methods that can take 12+ hours for similar quantities of meat.
Note: While the active hands-on time for canning venison is just about an hour, the pressure canner requires careful monitoring throughout the process, making this an ideal weekend project.
Step-by-Step Instructions
Step 1: Prepare Your Workspace and Equipment
Begin by thoroughly washing all jars, lids, and equipment in hot, soapy water. Sterilize jars by keeping them in hot water until ready to use, or by running them through a dishwasher cycle. Place new lids in a small saucepan of water and heat (but don’t boil) to prepare the sealing compound. Set up your pressure canner according to manufacturer instructions, adding the recommended amount of water to the bottom. When canning venison, cleanliness is particularly important to ensure food safety.
Pro Tip: Organize your workspace before starting to ensure smooth transitions between steps. Having all tools and ingredients within reach prevents cross-contamination and makes the process more efficient.
Step 2: Prepare the Venison
Trim all visible fat, silver skin, and connective tissue from your venison. Fat in venison can become rancid during storage and creates an unpleasant flavor. Cut the meat into 1-inch cubes for best results. For a ready-to-use product, you can also brown the meat cubes in a skillet before canning, though this is optional and will darken the meat’s appearance. When preparing venison for canning, remember that the quality of your trimming directly affects the final product’s taste and shelf life.
Pro Tip: Partially freezing the venison for 30 minutes makes it easier to cut into uniform cubes, ensuring even cooking during the pressure canning process.
Step 3: Pack the Jars
Place your canning funnel on a clean jar and pack the raw venison cubes loosely, leaving 1-inch headspace. Add salt, bouillon or broth, and any optional aromatics like garlic, onion, or herbs. Do not overfill—proper headspace is crucial for safe processing and sealing. The canning venison process requires attention to detail at this stage to ensure proper preservation.
Pro Tip: For exceptional flavor, add 1 tablespoon of tomato paste to each jar. This not only enhances the meat’s natural flavors but also helps tenderize the meat during processing.
Step 4: Prepare Jars for Processing
After filling each jar, remove air bubbles by running a bubble remover or plastic knife around the inside edge. Wipe jar rims clean with a damp cloth to ensure nothing interferes with the seal. Apply prepared lids and screw on rings until fingertip tight—not too loose or too tight. Proper jar preparation is essential for successful venison canning.
Pro Tip: The “fingertip tight” guideline means the ring offers resistance but can still be unscrewed using just your fingertips. Over-tightening prevents proper venting during processing.
Step 5: Process in the Pressure Canner
Place filled jars in your pressure canner, ensuring they don’t touch each other or the sides of the canner. Secure the canner lid and allow it to vent for 10 minutes before applying the weight or closing the petcock. Process quart jars for 90 minutes or pint jars for 75 minutes at 10 pounds of pressure (adjust for altitude according to your canner’s instructions). This extended processing time is critical when canning venison to ensure all harmful bacteria are destroyed.
Pro Tip: Never attempt to speed up the cooling process of your canner. Rushed cooling can cause jars to break or lids to unseal. Natural cooling ensures a proper vacuum seal.
Step 6: Cool and Test Seals
After processing, turn off the heat and allow the canner to depressurize naturally. Once the pressure gauge reads zero, wait an additional 10 minutes, then carefully open the canner away from your face. Use a jar lifter to remove jars and place them on a towel-covered countertop, leaving at least 1 inch between jars. Let cool for 12-24 hours. The cooling period is just as important as the processing time when canning venison.
Pro Tip: Listen for the satisfying “ping” sound as jars seal during cooling. After cooling, test seals by pressing the center of each lid—properly sealed lids will not flex.
Step 7: Label and Store
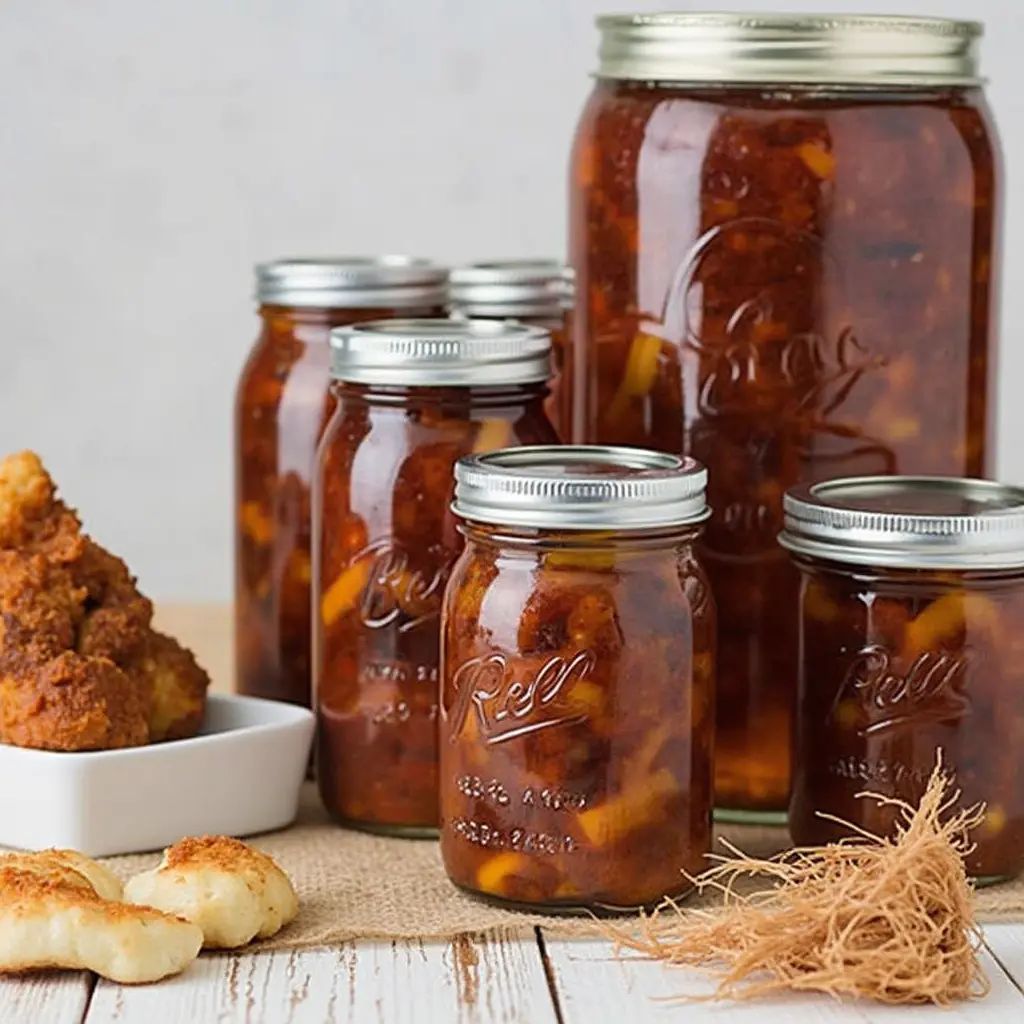
Remove rings before storing (they can hide failed seals), wipe jars clean, and label with contents and processing date. Store in a cool, dark place for optimal shelf life—up to 2-3 years, although best quality is maintained within the first year. Properly stored canned venison becomes an invaluable addition to your pantry.
Pro Tip: Periodically check stored jars for any signs of spoilage such as bulging lids, leakage, or discoloration. When opening, always check for off odors or unusual appearance before consuming.
Nutritional Information
Canned venison provides excellent nutritional value, making it a healthy protein choice:
- Calories: Approximately 175 calories per 3.5 oz serving
- Protein: 30g per 3.5 oz serving (higher than beef)
- Fat: 3.5g per 3.5 oz serving (significantly lower than beef)
- Iron: 3.3mg per 3.5 oz serving (about 18% of RDI)
- Vitamin B12: 2.5mcg per 3.5 oz (over 100% of RDI)
- Sodium: Varies based on added salt and seasonings
Note: These values represent venison canned in its own juices without additional fat. Adding bouillon or broth will increase sodium content. The nutritional profile of canned venison makes it an excellent choice for health-conscious consumers.
Healthier Alternatives for the Recipe
To create an even healthier canned venison product:
- Skip the added salt completely—the pressure canning process will still preserve the meat effectively
- Use homemade low-sodium stock instead of bouillon for control over sodium content
- Add more herbs like rosemary, which contains antioxidants and anti-inflammatory compounds
- Include a small slice of lemon in each jar—the acidity enhances flavor without adding calories
- For those limiting red meat, consider alternating venison with lean wild turkey in your canning routine
- Add mushrooms to the jars—they absorb venison’s rich flavor while adding nutrients and texture
Creating healthier variations when canning venison allows you to tailor the product to specific dietary needs without sacrificing flavor or preservation quality.
Serving Suggestions
Canned venison’s versatility makes it perfect for quick, nutritious meals:
- Drain and add to pasta sauce for a richer, protein-packed alternative to traditional meat sauce
- Use in venison stroganoff, ready in 15 minutes instead of the usual hour with fresh meat
- Add to vegetable soups for an instant protein boost without thawing or additional cooking
- Create quick venison pot pies using pre-made crusts and mixed vegetables
- Drain, shred, and season with barbecue sauce for unique sliders or sandwiches
- Mix with scrambled eggs and vegetables for a high-protein breakfast hash
- Combine with beans, corn, and seasonings for an effortless venison chili
Personal Recommendation: For an impressive yet effortless dish, heat canned venison with its juices, add caramelized onions, and serve over creamy polenta with fresh herbs—dinner party worthy in under 20 minutes. The convenience of canned venison makes gourmet meals accessible even on busy weeknights.
Common Mistakes to Avoid
Even experienced canners can encounter challenges when preserving venison. Avoid these pitfalls:
- Skipping the pressure canner: NEVER attempt to can venison in a water bath canner—this is dangerous and can lead to botulism.
- Including fat: Venison fat becomes rancid during storage and creates off-flavors. Trim thoroughly.
- Overcrowding jars: Pack meat loosely to ensure proper heat penetration during processing.
- Incorrect processing time: Underprocessing venison is dangerous—always follow recommended times based on jar size and altitude.
- Adjusting untested recipes: Food safety research shows that adding thickeners like flour or cornstarch can prevent proper heat penetration. Save these additions for when you open the jar.
- Reusing lids: Studies show that reused lids fail to seal properly up to 30% of the time. Always use new lids for each batch.
- Rushing the process: Data indicates that nearly 75% of home canning failures occur when steps are rushed or skipped. Follow each step methodically.
When canning venison, these mistakes can compromise both safety and quality, so it’s essential to follow proper protocols.
Storing Tips for the Recipe
Proper storage maximizes your canned venison’s shelf life and quality:
- Store in a cool (50-70°F), dark location—studies show that light exposure can degrade quality by up to 30% over a year.
- Always remove rings before storage to prevent false seals from masking spoilage.
- Label each jar with contents, processing date, and any special seasonings used.
- Consume oldest jars first—follow the “first in, first out” principle.
- Place jars in a single layer rather than stacking to prevent hidden lid failures.
- Check stored jars periodically for any signs of spoilage such as bulging lids, leakage, or cloudy liquid.
- For opened jars, refrigerate and use within 3-4 days for best quality.
Longevity Tip: Research shows that maintaining a consistent storage temperature extends shelf life. Avoid areas with temperature fluctuations like garages or attics. Proper storage of canned venison ensures you can enjoy your preserved meat for years to come.
Conclusion
Canning venison transforms your hunting harvest into convenient, shelf-stable protein while preserving its rich flavor and nutritional benefits. Following proper techniques ensures a safe product that saves time on busy days while providing nutritious, ready-to-use meat. The seven secret techniques—proper trimming, raw packing, adding aromatics, ensuring correct headspace, precise processing times, natural cooling, and proper storage—create consistently excellent results. Mastering the art of canning venison allows you to enjoy the fruits of your hunting season year-round.
Ready to start preserving your venison harvest the professional way? Try this canning venison recipe and share your results in the comments below! Subscribe to our newsletter for more wild game preservation techniques and recipes delivered straight to your inbox.
FAQs
How long does canned venison last on the shelf?
When properly processed and stored in a cool, dark place, canned venison typically remains safe and of good quality for 2-3 years. For best flavor and texture, consume within the first year.
Is it necessary to use a pressure canner for venison?
Absolutely. Venison is a low-acid food, making it susceptible to botulism if not properly processed. A pressure canner is the ONLY safe method for home canning meat, as it reaches the 240°F temperature necessary to eliminate botulism spores.
Can I use a marinade when canning venison?
While tempting, adding acidic marinades or excessive oil can interfere with proper heat penetration and safe preservation. Instead, add basic seasonings during canning and marinate the meat after opening when preparing your meal.
Why did the liquid level in my jars decrease after processing?
This common occurrence, called “siphoning,” happens when pressure changes too rapidly. It doesn’t affect safety as long as the jars sealed properly, but you can minimize it by allowing the canner to depressurize naturally without assistance.
Can I add vegetables like potatoes or carrots to my canned venison?
For food safety reasons, vegetables require different processing times than meat. It’s best to can venison separately and combine with vegetables when preparing meals. The exception is small amounts of low-starch vegetables like onions or peppers used primarily for flavoring.
Is raw pack or hot pack better for canning venison?
Both methods are safe when properly processed. Raw packing is simpler and creates its own broth during processing. Hot packing (browning meat first) yields a different flavor profile some prefer, but may result in slightly drier meat texture.
How can I tell if my canned venison has spoiled?
Never consume venison from jars with bulging lids, leakage, or off odors. When opening, check for spurting liquid, unusual cloudiness, or discoloration. When in doubt, follow the food safety mantra: “When in doubt, throw it out.” This is especially important with home-canned venison to prevent foodborne illness.