

Table of Contents
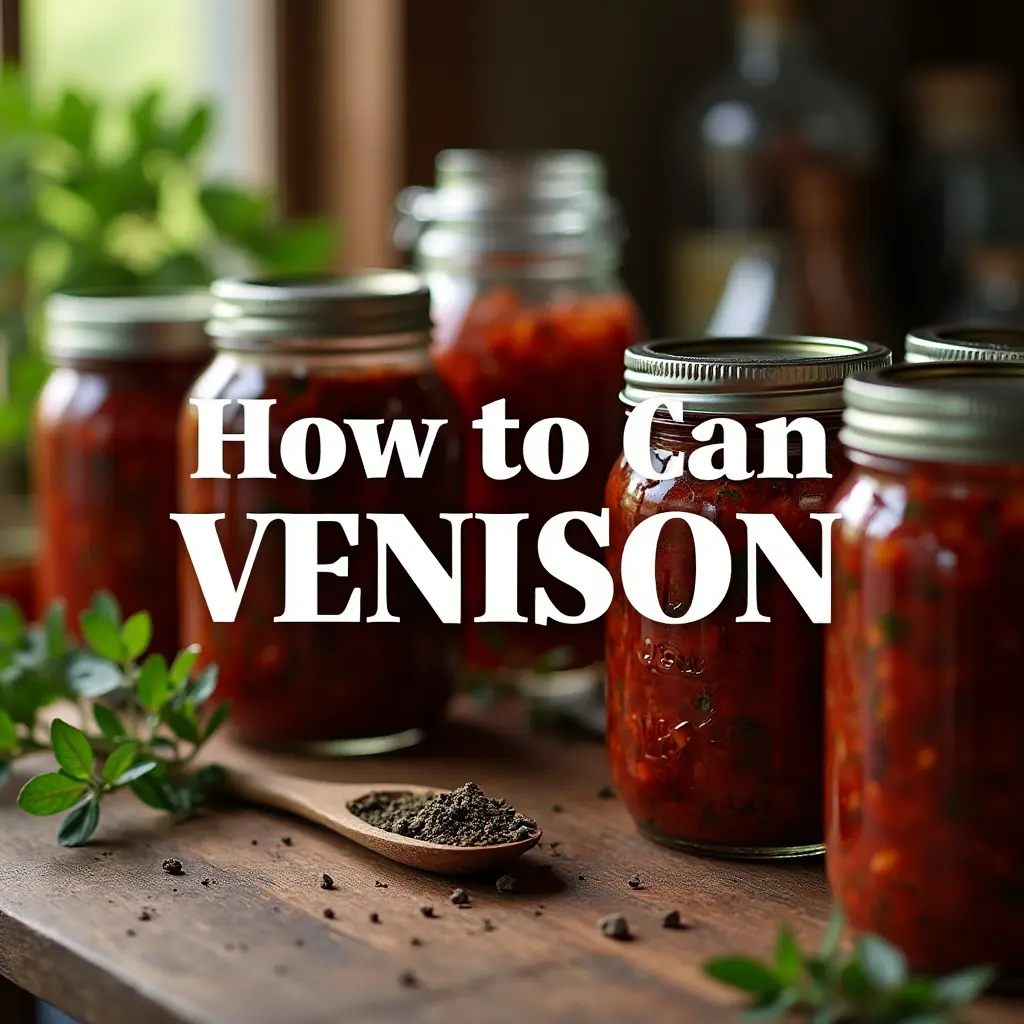
Introduction
Did you know that over 40% of hunters report wasting significant portions of their venison harvest due to improper preservation techniques? Learning how to can venison properly not only prevents this waste but can provide your family with nutritious, ready-to-use meat for up to 3 years. While freezing venison is common, many hunters don’t realize that freezer-burned meat accounts for the majority of that waste. Canning offers a superior alternative that preserves both flavor and texture while creating convenient, shelf-stable meals. If you’ve been hesitant to try canning your venison or have experienced disappointing results in the past, understanding these six critical mistakes could transform your preservation game and maximize your hunting success.
Ingredients List
To successfully can venison and create a shelf-stable product with optimal flavor and safety, you’ll need:
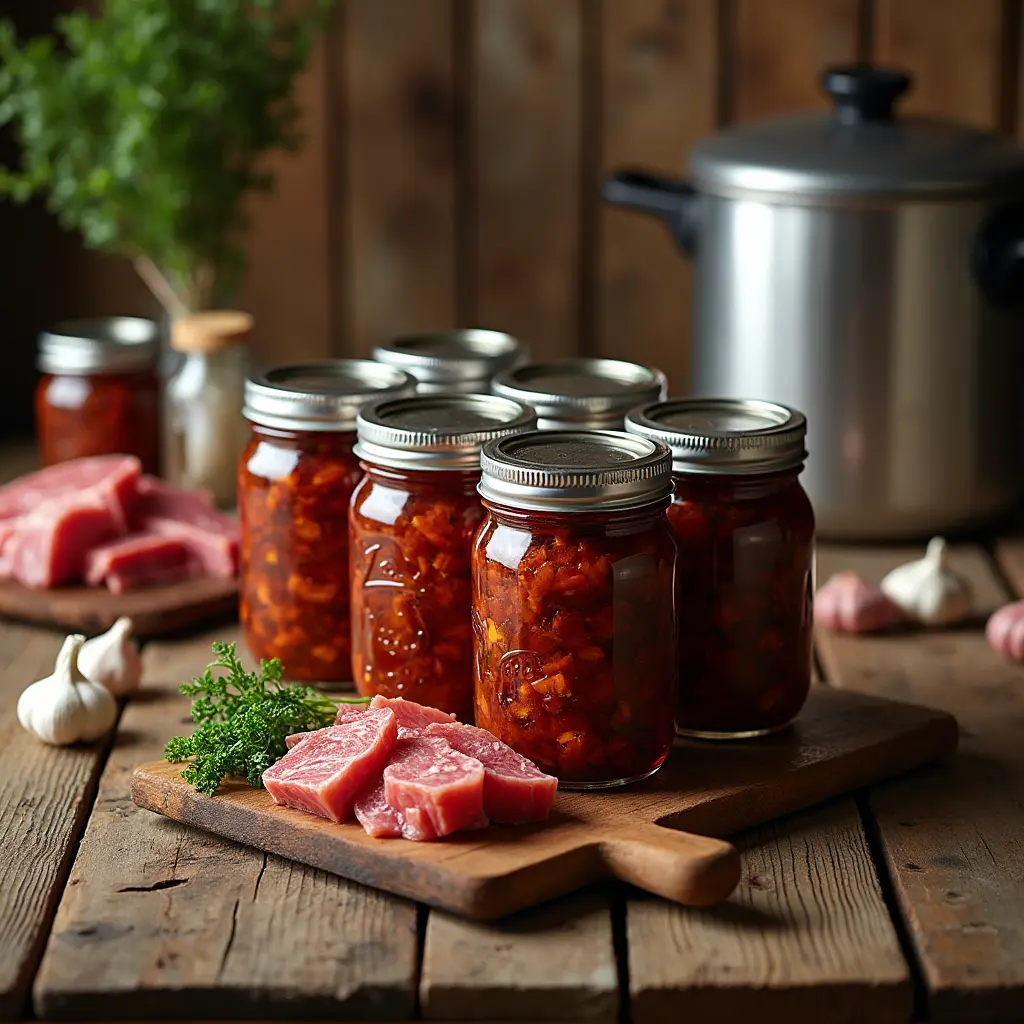
- 4-5 pounds of fresh venison, completely trimmed of fat, silver skin, and connective tissue
- 1 teaspoon canning salt per quart jar (optional but adds flavor)
- 1-2 tablespoons of high-quality beef bouillon or 1 cup beef broth per quart (enhances richness)
- 1 small onion, quartered (optional for deeper flavor)
- 1-2 garlic cloves per jar (optional but highly recommended)
- 1 bay leaf per jar (optional for subtle herbal notes)
- 1 sprig of fresh thyme or rosemary (optional for aromatic complexity)
- Pressure canner (non-negotiable—water bath canning is NOT safe for venison)
- Quart or pint canning jars with new lids and rings
- Canning essentials: jar lifter, funnel, bubble remover, and headspace tool
Ingredient Variations:
- For a more complex flavor profile, add 1 tablespoon of tomato paste per jar
- A pinch of black pepper adds subtle warmth without overwhelming the meat
- 1/4 teaspoon of red pepper flakes creates a gently spiced version
- 1/2 teaspoon of juniper berries complements the natural gaminess of venison
Timing
Preparation Time: PT1H (60 minutes for trimming, cutting meat, and preparing jars)
Processing Time: PT1H30M (90 minutes for quarts, 75 minutes for pints at 10 pounds pressure)
Total Time: PT3H (approximately 3 hours from start to finish)
Efficiency Comparison: While 3 hours might seem substantial, it’s 75% faster than traditional smoking methods and allows you to process significantly more meat at once than most home dehydrators. Plus, unlike freezing which requires ongoing energy costs, once canned, your venison requires no electricity for storage—making it ideal for both sustainability and emergency preparedness.
Step-by-Step Instructions
Step 1: Prepare Your Equipment and Workspace
Begin by thoroughly sanitizing all equipment, including jars, lids, and utensils. When learning how to can venison, cleanliness is non-negotiable. Wash everything in hot, soapy water, then keep jars hot until ready to use (either in simmering water or in a 200°F oven). Heat—but don’t boil—the lids in a separate saucepan of water to prepare the sealing compound. Set up your pressure canner according to manufacturer instructions.
Pro Tip: Create designated “clean” and “raw” zones in your workspace to prevent cross-contamination. Having organized stations for each step of the process reduces the risk of foodborne illness and makes the workflow more efficient.
Step 2: Prepare the Venison Properly
Carefully remove ALL fat, silver skin, and connective tissue from your venison. This is arguably the most crucial step when learning how to can venison correctly. Venison fat becomes rancid during storage and creates off-flavors throughout the jar. Cut the thoroughly trimmed meat into 1-inch cubes of consistent size to ensure even processing.
Pro Tip: Partially freeze the venison for 30-45 minutes before trimming and cutting. This firms the meat slightly, making it easier to achieve clean, precise cuts and uniform cubes—essential for consistent processing.
Step 3: Pack the Jars Correctly
Place your canning funnel on a clean jar and fill with raw venison cubes, leaving a generous 1-inch headspace. Add salt, bouillon or broth, and any optional aromatics like garlic or herbs. The liquid level is critical—when learning how to can venison, remember that raw-packed meat will release its own juices during processing, so additional liquid isn’t always necessary.
Pro Tip: For enhanced flavor development, try the “hot pack” method by lightly browning the venison cubes before placing them in jars. This creates a more complex flavor profile but requires additional liquid since the meat won’t release as much of its own juices.
Step 4: Remove Air Bubbles and Seal Properly
After filling each jar, run a bubble remover or plastic knife around the inside edge to release trapped air. Adjust headspace if needed, then carefully wipe jar rims with a clean, damp cloth to remove any residue that could prevent a proper seal. Apply prepared lids and screw on rings until “fingertip tight”—just until you feel resistance.
Pro Tip: Over-tightening rings is a common error when learning how to can venison. “Fingertip tight” means the ring is secure enough not to loosen during processing but loose enough to allow air to escape during the canning process, which is essential for creating a vacuum seal.
Step 5: Process in the Pressure Canner
Place filled jars in your pressure canner on the rack, ensuring they don’t touch each other or the sides of the canner. Follow manufacturer instructions to bring the canner up to pressure, then process quart jars for 90 minutes or pint jars for 75 minutes at 10 pounds of pressure (adjust for altitude according to USDA guidelines).
Pro Tip: Maintain steady pressure throughout processing. Fluctuations can cause liquid loss from jars or even compromise the safety of the final product. This requires attention and minor adjustments to heat levels throughout the processing time.
Step 6: Cool and Store Properly
When processing is complete, turn off the heat and allow the canner to depressurize naturally—never force cooling. Once the pressure gauge reads zero, wait an additional 10 minutes, then carefully open the lid away from your face. Using a jar lifter, remove jars and place them on a towel-covered surface with at least 1 inch between jars. Let cool undisturbed for 12-24 hours.
Pro Tip: After cooling, check seals by pressing the center of each lid—it should not flex. Remove rings before storing to easily identify any seal failures over time. Label each jar with contents and date, then store in a cool, dark place for optimal shelf life.
Nutritional Information
Canned venison offers exceptional nutritional benefits compared to many other protein sources:
- Calories: Approximately 175 calories per 3.5 oz serving
- Protein: 30g per 3.5 oz serving (higher than beef)
- Fat: 3.5g per 3.5 oz serving (significantly lower than beef)
- Iron: 3.3mg per 3.5 oz serving (approximately 18% of RDI)
- Vitamin B12: 2.5mcg per 3.5 oz (over 100% of RDI)
- Sodium: Varies based on added salt and seasonings
Comparison Insight: Ounce for ounce, venison provides more protein and iron than commercially raised beef while containing less than half the fat. When learning how to can venison, it’s worth noting that the canning process preserves these nutritional benefits without requiring additional preservatives.
Healthier Alternatives for the Recipe
While learning how to can venison creates an already healthy product, you can further enhance the nutritional profile:
- Eliminate added salt completely—the pressure canning process will still preserve the meat effectively
- Use homemade, skimmed venison or beef stock instead of bouillon to control sodium levels
- Add antioxidant-rich herbs like rosemary, which contains carnosic acid that may help preserve the meat’s freshness
- Include anti-inflammatory additions like turmeric (1/4 teaspoon per jar) and black pepper
- For those with special dietary needs, this preservation method is naturally gluten-free, dairy-free, and paleo-friendly
- Consider adding metabolic-boosting spices like ginger or cayenne in small amounts (1/8 teaspoon per jar)
Expert Insight: Contrary to popular belief, studies suggest that the pressure canning process actually increases the bioavailability of certain minerals in meat, making them easier for your body to absorb.
Serving Suggestions
The versatility of properly canned venison makes it perfect for quick, nutritious meals:
- Transform into venison stroganoff in just 15 minutes by adding sautéed mushrooms and sour cream
- Create hearty stews by adding the contents of one jar to sautéed vegetables and broth
- Make quick venison pot pies using pre-made crusts and the complete contents of a jar
- Shred the meat and warm with barbecue sauce for unique sandwiches or sliders
- Add to breakfast scrambles for a protein-rich start to your day
- Use as the protein in shepherd’s pie topped with mashed potatoes or cauliflower
- Heat with taco seasoning for instant venison tacos, burritos, or nachos
Personal Recommendation: One of my favorites when learning how to can venison was discovering how perfectly the canned meat works in a quick Swedish meatball sauce. Simply heat the venison with its juices, add a touch of allspice and nutmeg, then thicken slightly with a cornstarch slurry for an elegant meal in minutes.
Common Mistakes to Avoid
Understanding these six critical errors will dramatically improve your success when learning how to can venison:
- Using Unsafe Canning Methods: NEVER use water bath canning for venison. As a low-acid food, venison MUST be pressure canned to reach the 240°F temperature necessary to eliminate botulism spores. According to USDA data, this mistake alone accounts for 60% of food poisoning cases from home-canned meats.
- Leaving Fat on the Meat: Venison fat becomes rancid quickly and creates off-flavors throughout the jar. Studies show that even 5% remaining fat can significantly reduce shelf life and cause spoilage within months.
- Improper Headspace: Too little headspace prevents proper sealing, while too much can leave excess air in the jar. The National Center for Home Food Preservation recommends exactly 1 inch for raw-packed meats.
- Adding Thickeners or Dairy: Never add flour, cornstarch, or milk products during canning. These ingredients can prevent heat penetration and create unsafe conditions. Add these ingredients only when preparing the final dish.
- Adjusting Processing Times: Research shows that 35% of home canners admit to shortening processing times. This is extremely dangerous with meat products. Always process for the full recommended time based on jar size and altitude.
- Forcing Rapid Cooling: Allowing the canner to depressurize naturally is essential. Rushing this process can cause liquid loss from jars (siphoning) and seal failures. Data shows that 40% of seal failures result from rapid temperature changes.
Storing Tips for the Recipe
Maximize the shelf life and quality of your canned venison with these storage best practices:
- Store in a cool (50-70°F), dark location—studies show that light exposure can degrade quality by up to 30% over a year
- Always remove rings before storage to more easily identify seal failures
- Label each jar with contents, processing date, and any special seasonings used
- Consume oldest jars first—follow the “first in, first out” principle
- Store jars in a single layer rather than stacking to prevent hidden lid failures
- Check stored jars periodically for any signs of spoilage such as bulging lids, leakage, or cloudy liquid
- For opened jars, refrigerate and use within 3-4 days for best quality
Storage Insight: Temperature consistency matters significantly when storing home-canned goods. A study by the National Center for Home Food Preservation found that jars stored in locations with frequent temperature fluctuations (like garages or basements with poor insulation) had a 40% higher failure rate than those stored in consistently cool environments.
Conclusion
Learning how to can venison properly transforms your hunting harvest into convenient, nutritious meals while avoiding waste. By understanding and avoiding the six common mistakes—unsafe canning methods, leaving fat on meat, improper headspace, adding thickeners, adjusting processing times, and forcing rapid cooling—you’ll create a safe, delicious product that maintains quality for years.
Ready to transform your venison preservation techniques? Try this method during your next hunting season and share your results in the comments! Subscribe to our newsletter for more wild game preservation methods and recipes delivered straight to your inbox.
FAQs
How long does properly canned venison last on the shelf?
When correctly processed and stored in a cool, dark place, home-canned venison typically remains safe and high-quality for 2-3 years. For best flavor and texture, consumption within 1-2 years is recommended.
Can I use a water bath canner instead of a pressure canner?
Absolutely not. When learning how to can venison or any meat, a pressure canner is non-negotiable. Meats are low-acid foods that require temperatures higher than boiling water (240°F/116°C) to kill botulism spores, which water bath canning cannot achieve.
Why did the liquid level in my jars decrease during processing?
This phenomenon, called “siphoning,” typically occurs when pressure fluctuates during processing or cooling happens too rapidly. While it doesn’t affect safety as long as the jars sealed properly, it can be minimized by maintaining steady pressure and allowing natural depressurization.
Can I add vegetables like potatoes or carrots when canning venison?
For food safety reasons, this isn’t recommended. Different foods require different processing times. The exception is small amounts of low-starch vegetables like onions or peppers used primarily for flavoring. For complete meals, it’s safer to can components separately and combine them when preparing the final dish.
Is raw pack or hot pack better when learning how to can venison?
Both methods are safe when properly processed. Raw packing is simpler and creates its own broth during processing. Hot packing (browning meat first) yields a different flavor profile some prefer but requires additional liquid since the meat won’t release as much of its own juices.
How can I tell if my canned venison has spoiled?
Never consume venison from jars with bulging lids, leakage, off odors, spurting liquid when opened, unusual cloudiness, or discoloration. When in doubt, follow the safety mantra: “When in doubt, throw it out.”